A well-maintained deck is the difference between a backyard oasis and a safety hazard. Decks face constant assault from UV rays, moisture, temperature swings, and foot traffic, forces that can turn solid wood into a splinter factory within a few years. The good news: regular deck maintenance and timely repairs keep your outdoor space structurally sound and looking sharp. This guide walks you through inspecting, cleaning, fixing common issues, and protecting your deck year-round. Whether you’re dealing with minor surface damage or structural concerns, you’ll find practical steps to extend your deck’s life and keep everyone who steps on it safe.
Table of Contents
ToggleKey Takeaways
- Regular deck maintenance and repair prevents small problems from becoming expensive structural failures, with early detection turning $50 repairs into $5,000 replacements.
- Inspect your deck at least twice yearly using a screwdriver and flashlight, checking for rot, warping, loose boards, and structural damage that compromise safety.
- Replace corroded nails and cheap fasteners with stainless steel or hot-dipped galvanized deck screws, which resist rust and hold boards securely longer.
- Clean your deck before sealing by removing algae, mold, and dirt with a deck cleaner and brush, then allow 48 hours of dry weather before applying sealant.
- Reapply deck sealant every 2–3 years and perform seasonal maintenance tasks like clearing debris, managing drainage, and inspecting posts where water accumulates.
- Address fastener failures and squeaky boards immediately, and replace boards with rot extending beyond 1/4 inch deep to maintain deck structural integrity and prevent injuries.
Why Regular Deck Maintenance Matters
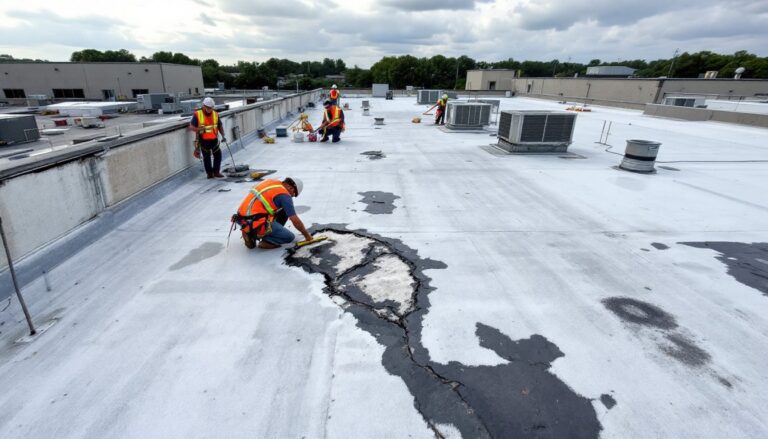
Skipping deck maintenance turns small problems into expensive disasters. Wood exposed to moisture and sun starts failing from the inside out, rot spreads faster than you’d think, and by the time you notice soft spots underfoot, structural damage may already be severe. A deck’s support posts, joists (the horizontal beams under your boards), and fasteners carry the weight of people, furniture, and snow loads. When these fail, the whole deck becomes a liability.
Regular inspections catch problems early, when a $50 repair beats a $5,000 replacement. Cleaning removes algae and dirt that trap moisture against the wood, accelerating decay. Sealing and staining protect the surface from UV damage and water infiltration. Think of it like brushing your teeth, a few minutes of prevention saves years of pain. According to building repair and maintenance best practices, decks should be inspected at least twice yearly and cleaned before sealing.
Most deck failures are avoidable with basic upkeep. You’re not looking at a contractor-level overhaul: you’re doing honest work that keeps your family safe.
Inspect Your Deck for Common Issues
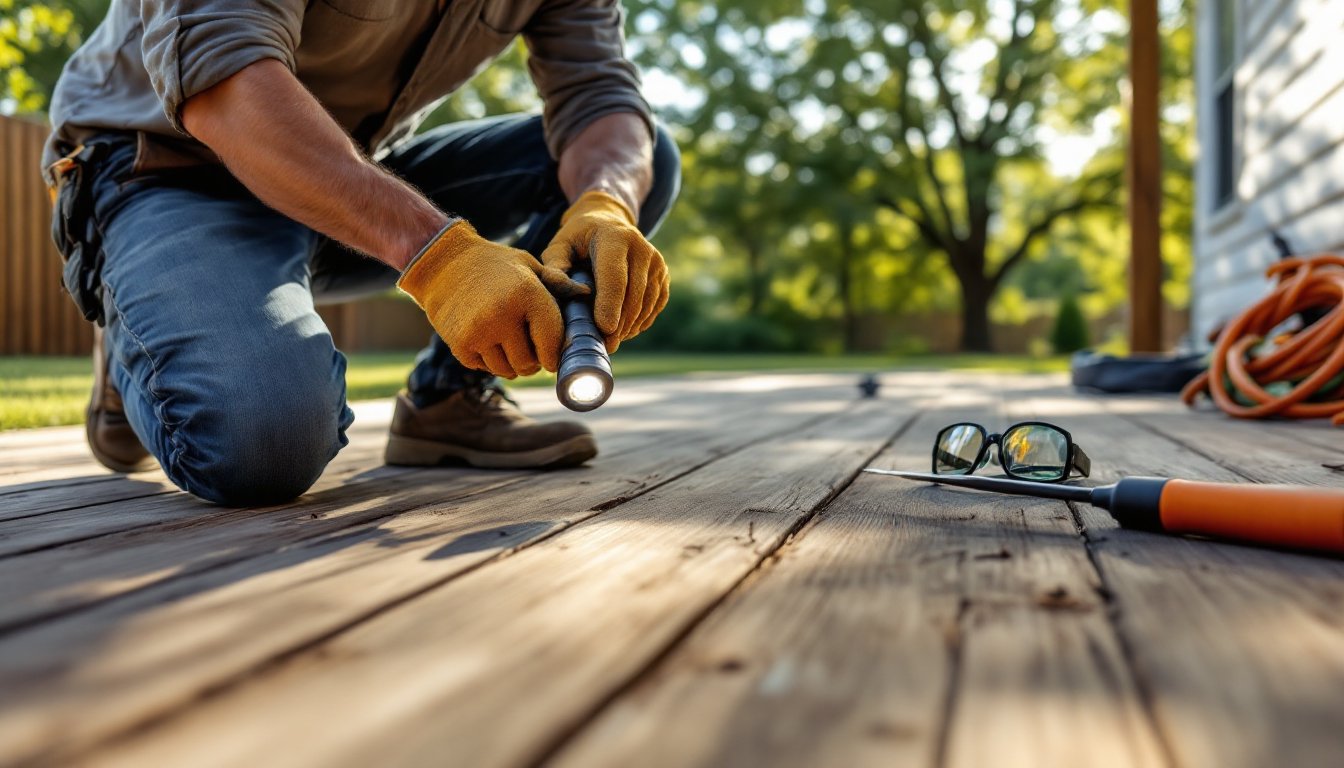
A thorough inspection takes an hour and requires just a screwdriver, flashlight, and a willingness to crawl under the deck. Start in bright sunlight so you can see clearly. Walk every board, looking and listening for soft spots or movement. Press a flathead screwdriver into suspect wood, if it sinks easily, rot is present.
Rot, Warping, and Loose Boards
Rot shows as dark, spongy wood or powdery sawdust stains. Check the underside of deck boards, rim joists (the outer frame), and especially posts where they contact concrete. Wet rot (caused by wood-boring fungi in moist conditions) is more common than dry rot outdoors. Small surface rot can sometimes be sanded out, but rot extending into structural members (joists, beams, posts) requires replacement of that piece.
Warping and cupping (boards curling at the edges or dishing lengthwise) happen as wood seasons. Minor warping is cosmetic: severe warping creates trip hazards and gaps where water pools. Pressure-treated lumber and composite decking warp less than untreated wood, but it still happens. Replace severely warped boards to prevent injuries.
Loose boards rattle when you walk and indicate fastener failure. Press down on the board’s edges and center. If it flexes excessively or rocks, fasteners are pulling out (common with steel nails over time). This is among the easiest repairs.
Fastener Problems and Structural Damage
Nails are the enemy of longevity. Galvanized nails and coated fasteners resist rust better than standard steel, but over time they corrode, lose grip, and let boards shift. Screws hold better than nails because their threads create mechanical lock: but, corrosion still happens with cheap fasteners.
Check for pop-ups (fasteners working back out) and rust stains bleeding onto wood. Rusted fasteners weaken, and the rust stains ugly, pulling and replacing them is worth the effort. Use stainless steel or hot-dipped galvanized deck screws rated for exterior use: they cost more upfront but outlast cheaper alternatives.
For structural damage, look for cracked or split posts, splintered beams, or separation between beams and posts (a sign of movement or settling). Posts bearing weight should be truly vertical: lean is a red flag. If the deck sags noticeably or rocks under foot, structural repair (possibly including joist replacement or post reinforcement) is needed. This isn’t a DIY-friendly job if it involves loads, consult a structural professional or the family handyman resource library for guidance.
Clean and Protect Your Deck Surfaces
A clean deck is a protected deck. Dirt, mold, and algae hold moisture against the wood and accelerate decay. Cleaning also improves appearance and prep for stain or sealer application.
Supplies you’ll need:
- Garden hose with spray nozzle or pressure washer (1500–2500 PSI max for wood)
- Stiff-bristled deck brush
- Deck cleaner (bleach-based or oxygen-based, avoid pure bleach, which weakens wood)
- Safety glasses and work gloves
- Sturdy footwear
Start with a dry brush to remove loose debris. Mix deck cleaner per label instructions and apply with a brush or sprayer, working in sections. Let it sit (typically 15–30 minutes) so the cleaner can break down grime. Scrub stubborn mold with the brush, then rinse thoroughly with the hose or pressure washer. If using a pressure washer, keep the nozzle moving and stay 12 inches from the surface to avoid gouging the wood, aim slightly along the grain, not perpendicular to it, to prevent splintering.
Allow 48 hours of dry weather before sealing or staining. Moisture trapped under sealant causes peeling and failure. Most deck sealers protect for 1–3 years depending on climate and foot traffic: you’ll need to reapply regularly. Bob Vila’s home improvement guidance emphasizes that sealing every 2–3 years is standard maintenance, not optional. Choose a stain-sealer combo for color and protection, or a clear sealer to show the wood’s natural tone. Always follow the product’s drying time and recoat windows, applying fresh sealer over old, peeling finish causes adhesion failure.
Fix Common Deck Repairs
Most repairs are straightforward if you work methodically. Always wear safety glasses when fastening and use work gloves to avoid splinters.
Tightening loose boards:
- Identify fasteners holding the board (usually 2 per joist).
- If nails are popping, remove them with a pry bar and replace with 3-inch stainless steel deck screws (two per joist).
- Pre-drill pilot holes to prevent splitting, especially in older wood or near edges.
- Screw fasteners snug but not over-torqued, you want them seated flush without crushing the wood.
- Check that the board no longer rocks.
Replacing rotted boards:
Small cosmetic rot on the surface can be sanded out, but if rot penetrates more than 1/4 inch, the structural integrity is compromised. Remove fasteners holding the board (pry nails out carefully or unscrew), slide it out, and slip the new board in. Match the board size and species if possible, treated lumber is standard for decks. Fasten with 3-inch stainless steel deck screws, two fasteners per joist. New lumber may cup slightly over the first season, so don’t over-tighten: let it settle.
Addressing small rot pockets:
If rot is caught early and shallow, you can sometimes save the piece. Chisel out the rot (it should be soft and crumbly) until you reach solid wood. Let the area dry completely, then fill with a two-part epoxy wood filler rated for exterior use. Sand flush once cured, and seal the repair with deck stain or sealant. This works best on rim joists or non-load-bearing trim: don’t rely on filled wood for structural support.
Fixing squeaky boards:
Squeaks are usually caused by boards rubbing against each other or nails loosening in joints. Tap fasteners back in with a hammer, or replace them with screws. If squeaking persists and the board appears sound, it may be moving against the joist beneath, tighten all fasteners in that section. Squeaks don’t indicate structural failure, but they’re annoying and hint that movement is happening.
Seasonal Deck Care and Prevention
Seasons bring different stresses: winter moisture and freeze-thaw cycles, spring algae growth, summer UV exposure, and fall leaf litter that traps water. Proactive seasonal care prevents emergency repairs.
Spring: After winter, inspect for water damage, ice damage, and loose fasteners. Clean the deck to remove leaf debris and mold spores that germinated over winter. Check posts and beams for cracks. This is the ideal time to seal or stain if the deck wasn’t treated last fall.
Summer: High temperatures and intense UV light fade stain and can dry wood excessively, causing cracks. Hose down the deck monthly to rinse away pollen and dust. Trim tree branches overhanging the deck to reduce shade and improve air circulation (dry decks last longer than damp ones). Address any loose boards immediately, summer’s heavy foot traffic accelerates wear on compromised fasteners.
Fall: Clear leaves and debris regularly: don’t let them pile up against the deck. Trim dead branches that might fall. This is a good time to apply fresh sealer before winter rains. Inspect posts where they meet concrete footings, this is where water accumulates and rot starts.
Winter: Snow and ice are heavy: calculate your deck’s load rating (typically 40 pounds per square foot for live load). Remove heavy snow before it compacts and holds moisture. If salt or de-icer is used nearby, rinse the deck when weather allows, salt accelerates corrosion. Don’t use salt directly on the deck. In freeze-thaw zones, check for splintering and cracking after thaws, especially near fasteners where micro-movements concentrate stress.
Year-round: Repair and maintenance best practices stress the importance of prevention. Keep gutters clean so water doesn’t pool over the deck. Ensure proper drainage around deck posts, standing water is rot’s best friend. Check the underside of the deck quarterly: that’s where problems develop silently. Replace damaged trim or flashing that should shed water away from structural members.